Physical Address
304 North Cardinal St.
Dorchester Center, MA 02124
Physical Address
304 North Cardinal St.
Dorchester Center, MA 02124

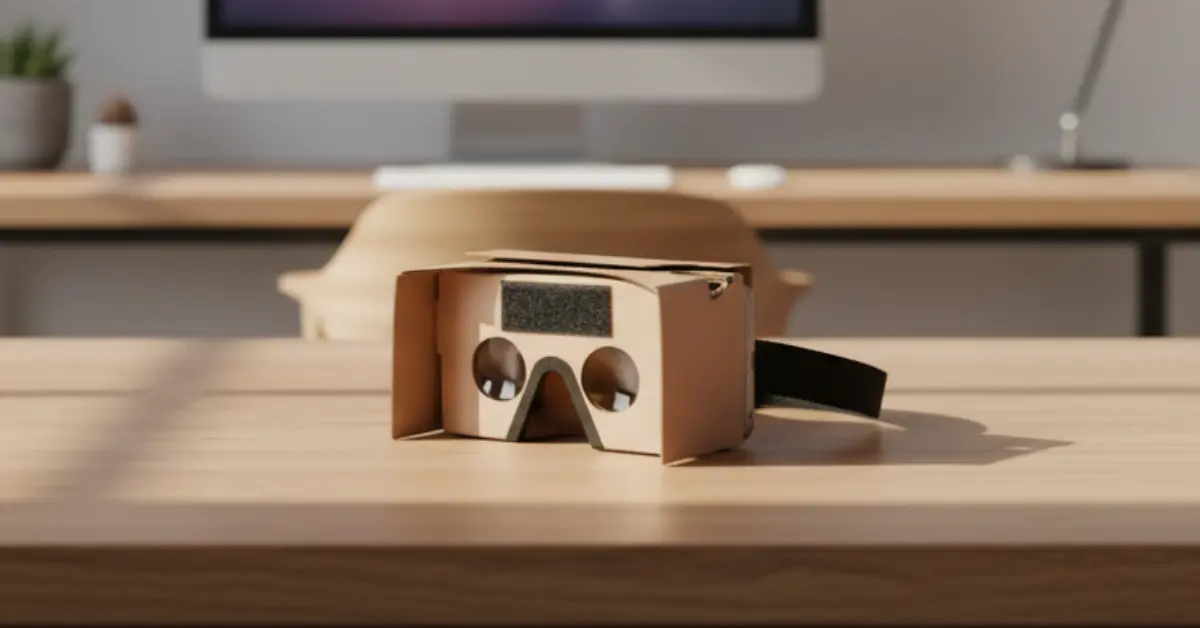
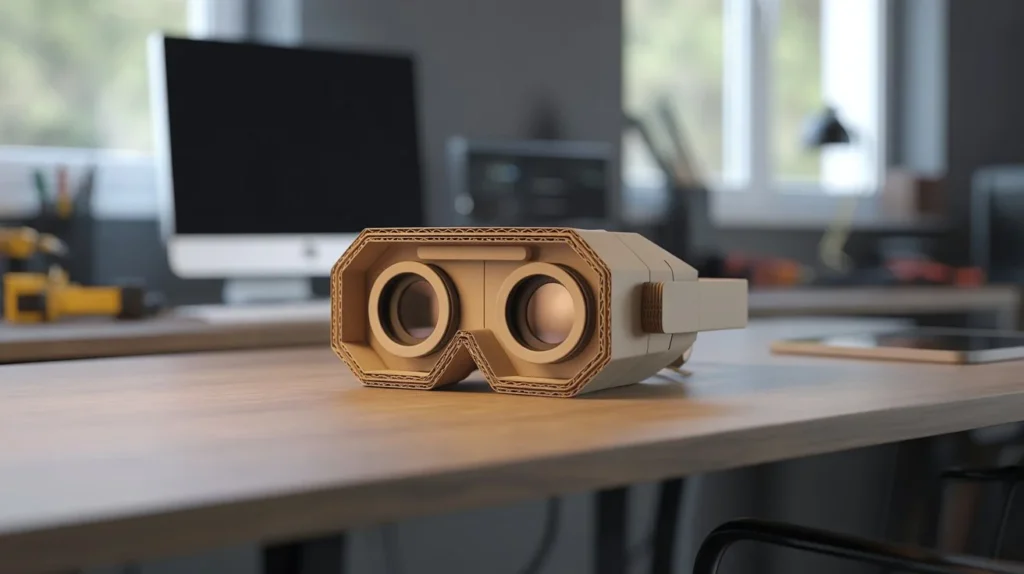
Learn how to make a VR headset! Follow our simple DIY tutorial to create a cardboard VR headset quickly and affordably.
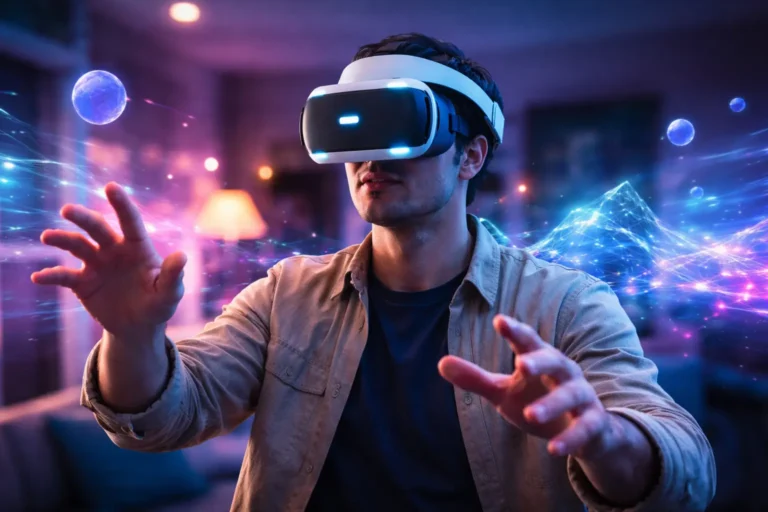
You’ve probably worn a virtual reality headset before and felt that strange shift, the moment your bedroom vanished, and you were standing on a mountain, inside a spaceship, or in the middle of a 360° concert. It feels futuristic. Expensive. Complicated.
But here’s the surprising truth: you don’t need a $400 device to experience VR.
If you’ve been wondering how to make a VR headset yourself, you’re in the right place. With a smartphone, a few affordable materials, and careful assembly, you can build a functional DIY virtual reality headset at home.
This guide walks you through everything, from understanding how VR works to assembling your own headset, optimizing image clarity, and testing it with the best apps. By the end, you won’t just understand VR, you’ll have built it.
Before diving into the technical steps, let’s talk about why making your own VR headset is worth your time.
Commercial VR systems can cost anywhere from $300 to $1,000, depending on performance and tracking quality. A DIY version, on the other hand, typically costs:
If you already own a smartphone with a gyroscope, you’re halfway there.
When you build it yourself, you gain a practical understanding of:
This is particularly valuable if you’re a student, hobbyist, or exploring STEM-related fields.
You can:
You’re not locked into factory design decisions.
Teachers love projects that demonstrate physics and optics in action. A homemade VR headset showcases:
You’re not just building something cool, you’re building something educational.
If you truly want to master how to make a VR headset, you need to understand what’s happening behind the scenes.
At its core, VR depends on three things:
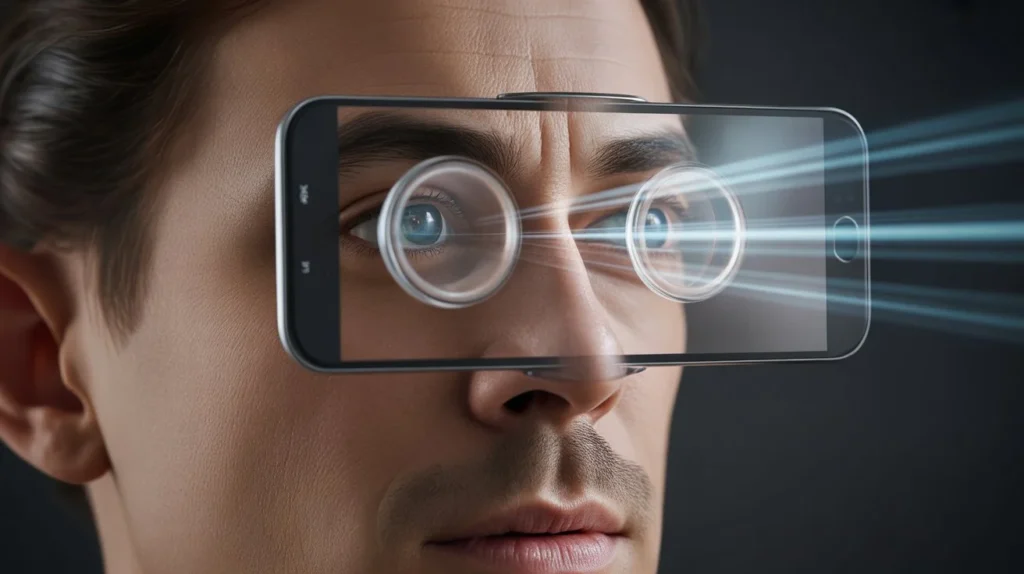
Your brain creates depth perception because each of your eyes sees a slightly different angle of the same scene. A VR headset mimics that effect.
Here’s how it works step by step:
The result? A convincing illusion of depth and immersion.
The lenses are not optional. Without them:
Convex lenses (usually 40–50mm focal length) bend light inward, allowing your eyes to focus on a screen that is physically very close.
Now let’s gather what you need.
Most materials are inexpensive and easy to find online or at a hardware store.
Total: $20–$40
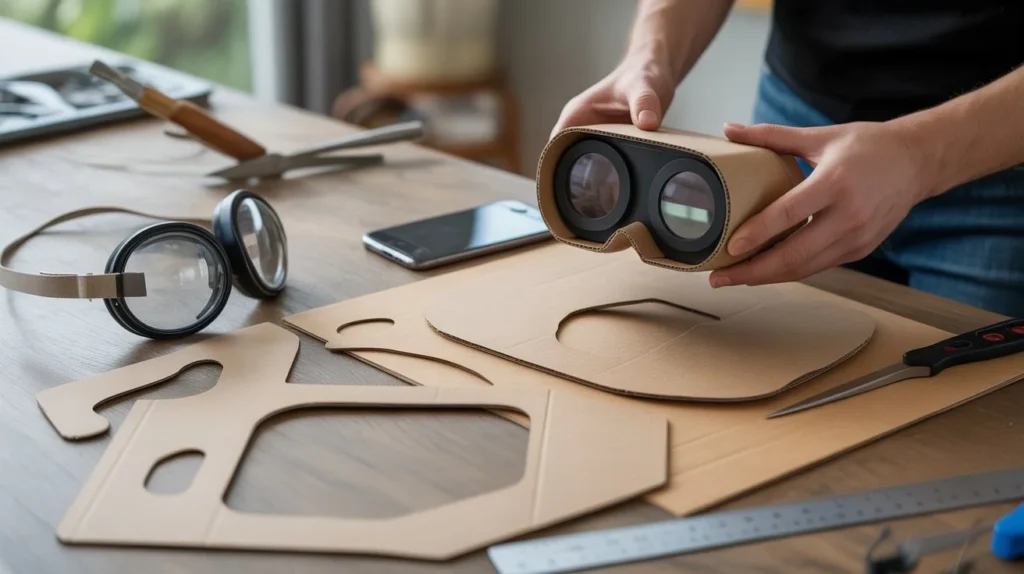
Now we get to the core process. Follow these steps carefully for best results.
Before cutting anything, measure:
Add a few millimeters for airflow and easy insertion.
Write these measurements down. Precision matters.
Using cardboard or foam board:
Mark where your lenses will go before cutting holes.
Tip: Keep edges straight. Uneven cuts affect alignment.
This is the most critical step in learning how to make a VR headset properly.
Make sure:
If alignment is off by even a few millimeters, you may experience double vision.
Design a compartment where your phone slides in securely.
You can:
The phone must remain stable during head movement.
Glue all panels together:
Reinforce corners with extra cardboard strips if needed.
Allow glue to dry completely before testing.
Attach elastic straps to both sides and top.
A three-point strap system provides better stability.
Make sure:
Download a simple VR app and test your headset.
If the image is blurry:
Fine adjustments make a huge difference.
Now that you’ve built it, you need something immersive to try.
Make sure:
Start with short sessions to avoid dizziness.
Even if you follow every step perfectly, small issues can happen.
Here’s how you solve them.
Cause:
Fix:
Cause:
Fix:
Cause:
Fix:
Cause:
Fix:
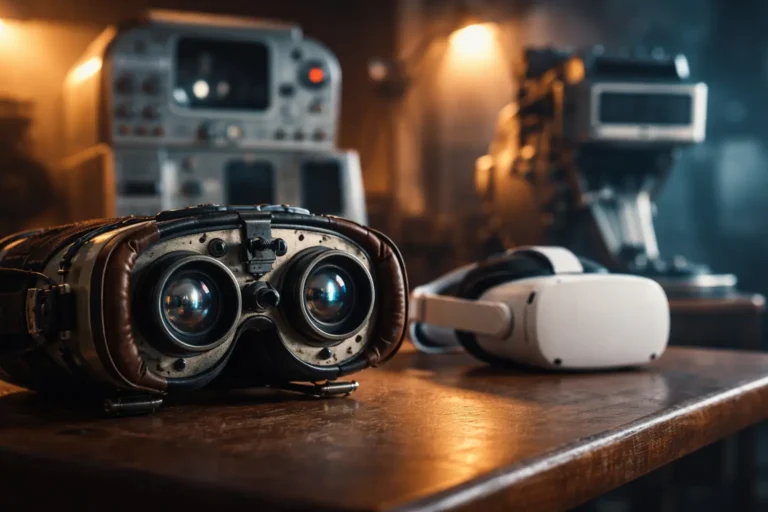
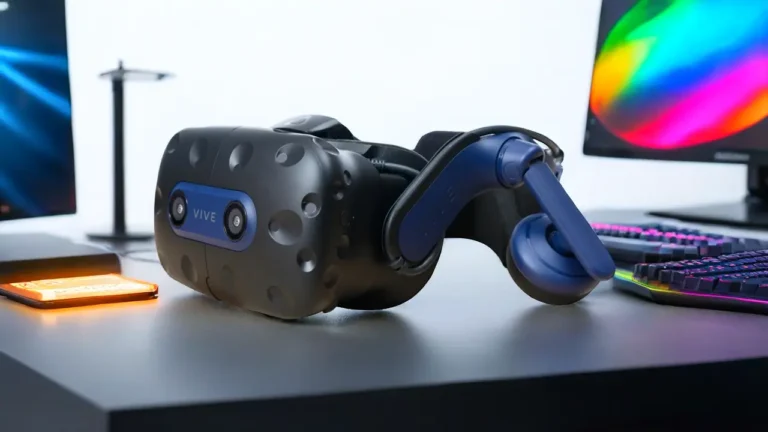
Let’s be realistic.
A homemade headset is impressive, but it won’t compete with advanced standalone devices.
Pros:
Cons:
Pros:
Cons:
If your goal is gaming performance and high-end immersion, commercial options win. But if your goal is learning and experimenting, building your own headset is incredibly rewarding.
Ask yourself:
If you answered yes to any of these, then yes, it’s worth it.
You’ll gain hands-on understanding of:
That knowledge alone makes the process valuable.
Technically, you can’t achieve proper VR without lenses. The lenses focus the image so your eyes can see it clearly at close range. Without them, everything appears blurred and unusable.
Low-cost acrylic convex lenses are inexpensive and essential.
Keep it simple:
Presentation tip: Show how image splitting creates depth.
Design your headset with:
Measure the largest phone size you want compatibility with.
Improve comfort by:
Comfort determines whether you can use it for 5 minutes or 30.
Upgrade:
Small refinements dramatically improve clarity.
Even though it’s homemade, treat VR responsibly.
Follow these guidelines:
Virtual reality is immersive, but you’re still physically in your room.
Stay aware.
Learning how to make a VR headset isn’t just about building a gadget. It’s about understanding the mechanics behind immersive technology. It’s about proving that innovation doesn’t always require expensive tools. And it’s about realizing you’re capable of creating something that transforms how you see the world, literally.
You now have:
The only thing left is action.
Grab your materials. Start cutting. Test and refine.
Then experience that moment, the instant your homemade device brings a digital world to life.
If this guide helped you, share it with someone curious about technology. Or better yet, build your headset and show them what you created.
Your virtual world is waiting.